- License: CAC1822188
- (407)-984-1482
- juanairconditioning@gmail.com
How To Clean Your HVAC Ducts Yourself

Air ducts play a crucial role in keeping your home’s heating and cooling systems running smoothly. However, over time, they can accumulate dirt, dust, and debris, which can negatively affect indoor air quality and the efficiency of your HVAC system. Cleaning your air ducts not only improves air quality but also helps extend the lifespan of your furnace and air conditioner. If you’re thinking about tackling this task yourself, this comprehensive guide will walk you through the entire process, from gathering the right tools to completing the job.
How Often Should You Clean Your Air Ducts?
While cleaning air ducts is essential, it’s important to remember that it doesn’t need to be done every few months. Generally, cleaning your ducts once every 3 to 5 years is enough for most homes. However, if you have pets, allergies, or a lot of dust accumulation, you might want to clean your ducts more frequently. You should also inspect the ducts if you notice any musty odors, increased dust around the house, or a decline in HVAC performance.
Things You’ll Need to Clean Your Air Ducts
Before diving into the task, ensure you have the following tools and supplies ready to make the job efficient and thorough. Proper preparation will help you achieve the best results.
New Furnace Filter
You’ll need a fresh furnace filter to replace the old one after cleaning. Be sure to select the right filter for your HVAC system’s specifications. A high-quality filter will improve air quality and maintain system efficiency.Heavy-Duty Work Gloves
Cleaning air ducts can be a messy job, and heavy-duty gloves will protect your hands from dirt, debris, and potential sharp edges within the ducts.Dust Mask or Safety Goggles
Dust and allergens are common in air ducts. Protect your lungs and eyes by wearing a dust mask and goggles while you work. This will prevent exposure to airborne particles and keep you comfortable during the process.Vacuum Cleaner with Long Hose
A powerful vacuum with a long hose is essential for sucking up dirt and debris from deep within your ducts. Standard household vacuums may not provide enough suction, so consider renting an industrial vacuum designed for duct cleaning if needed.Brush (Toilet Brush or Stiff-Bristled Paintbrush)
A brush is necessary to scrub the interior of your ducts and loosen any stubborn dirt or dust buildup. A toilet brush works well, but a stiff-bristled paintbrush will also do the job. Make sure the brush is long enough to reach deep into the ducts.Screwdriver or Power Drill
To remove the vent covers, you’ll need either a screwdriver or a power drill. This will allow you to easily take off the vent covers and access the duct openings for cleaning.Microfiber Cloths
Use microfiber cloths to wipe down the vent covers and any other surfaces that need cleaning. These cloths are highly effective at trapping dust without leaving lint behind, ensuring a clean finish.Paper Towels
Paper towels are handy for cleaning up any mess or dust left behind during the process. They’re also great for drying off vent covers and wiping down surfaces as needed.Extension Pole (Optional)
If your ducts or vents are difficult to reach, an extension pole can help you clean hard-to-reach areas without the need for a ladder.

How To Properly Clean Your Air Ducts
Once you have your supplies ready, it’s time to dive into the cleaning process. Follow these steps carefully for a thorough and efficient air duct cleaning.
Step 1: Turn Off Your HVAC System
This is a critical first step. Before you start working on your air ducts, make sure your heating and cooling systems are turned off. This will not only prevent any accidents but will also stop dust from circulating as you clean. You don’t want dust and debris flying around the house when you’re trying to clean it!
Step 2: Remove the Vent Covers
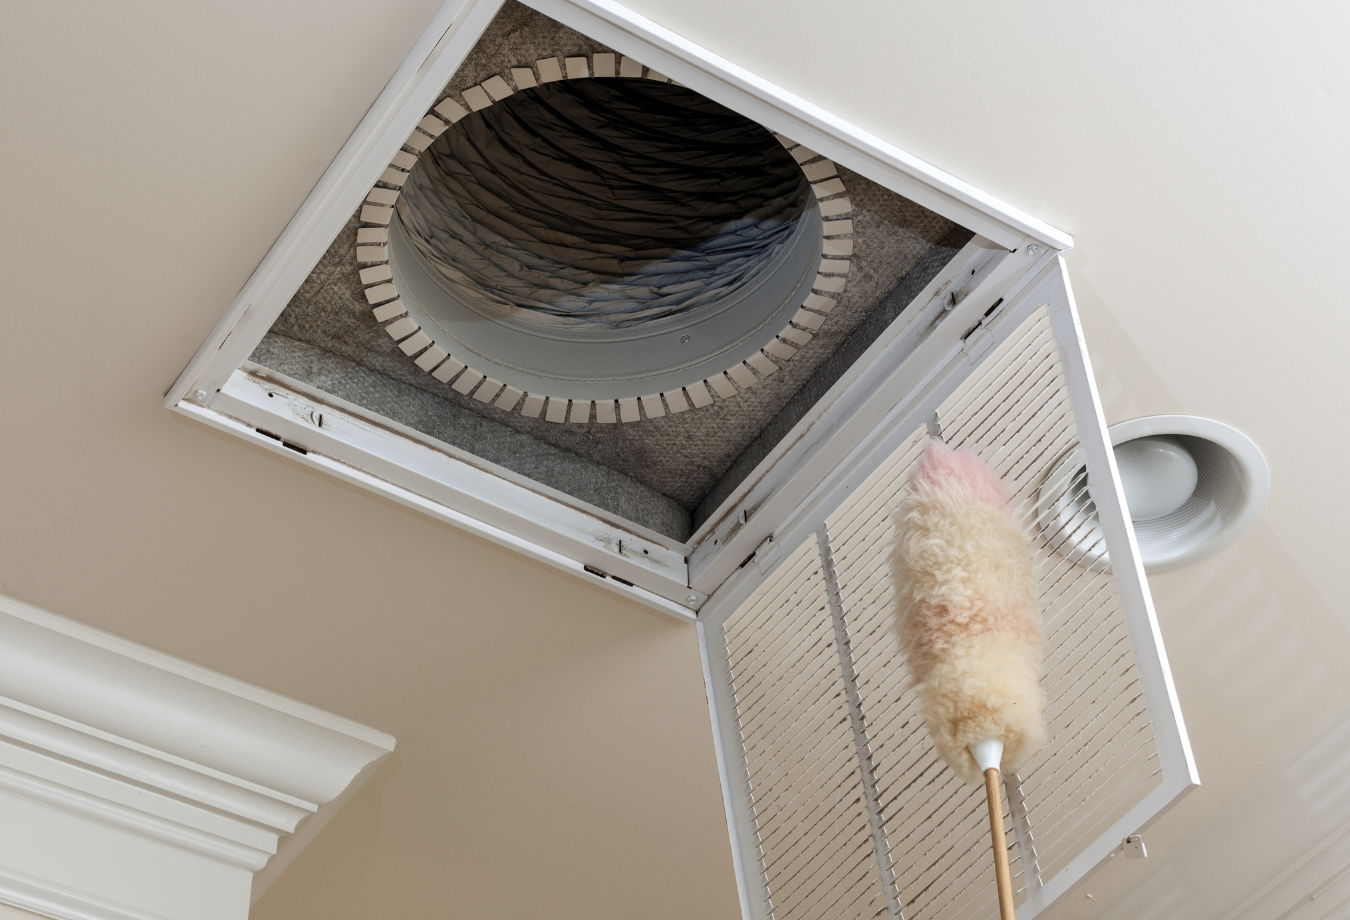
Start by removing the vent covers in each room of your home. This might require a screwdriver or a power drill, depending on how the covers are secured. Carefully unscrew the covers and set them aside.
For larger ducts, you may need to use a power drill to remove the screws. Be cautious not to damage the covers or ducts while removing them.
Step 3: Vacuum the Ducts
Now comes the fun part: using the vacuum. Attach the hose to the vacuum cleaner and, if possible, attach any appropriate brush tools that will help loosen dirt as you suck it up. Start by vacuuming each vent opening. Make sure to reach as deep as possible into the ducts. A vacuum with a long hose or extension will be especially helpful for this.
Run the vacuum along the ducts as far as you can, making several passes to ensure you remove as much dust and debris as possible. The goal is to get into all the accessible sections of the ductwork.
Step 4: Loosen Stubborn Dirt with a Brush
Once you’ve vacuumed out the loose debris, it’s time to tackle the sticky stuff. Take your toilet brush or stiff-bristled paintbrush and gently scrub the interior walls of the ducts to loosen any remaining dirt, cobwebs, or dust that the vacuum couldn’t reach. Work your way through each section, applying pressure where necessary to dislodge stubborn particles.
If you encounter particularly heavy buildup, you may want to consider using a cleaner or disinfectant designed for HVAC systems. Make sure it’s safe for the materials in your ductwork and doesn’t leave any residue.
Step 5: Wipe Down the Vent Covers
While you’re waiting for any dirt in the ducts to settle, take your microfiber cloth and clean the vent covers. Dust can accumulate here, and it’s important to give them a good scrub before replacing them. Wipe both the front and back of the covers to remove any buildup, then dry them off with a paper towel.
Step 6: Check and Replace the Furnace Filter
Before putting everything back in place, check the furnace filter. A dirty or clogged filter can significantly impact the efficiency of your HVAC system, so replacing it with a new one is crucial. Be sure to purchase the correct size and type of filter for your system. This will help keep your air clean and prevent future debris buildup in your ducts.
Step 7: Reassemble the Vents and Turn the System On
Once you’ve finished cleaning, it’s time to reattach the vent covers. Screw them back into place securely. Once the vents are back in position, turn your HVAC system back on and check to ensure everything is functioning properly.
Step 8: Final Inspection and Cleanup
After turning on the system, you should check for any residual dust that may have been kicked up during the cleaning process. Walk around the rooms and inspect the areas near the vents to ensure no dirt has settled around the edges. If necessary, use a damp microfiber cloth to wipe up any remaining dust.
Finally, dispose of the debris you’ve collected, and clean your tools to avoid spreading dust in other areas of your home.
Conclusion:
A Cleaner Home Starts with Clean Air Ducts
Cleaning your air ducts is an investment in your home’s health and comfort. Not only does it help improve indoor air quality, but it also contributes to the longevity and efficiency of your HVAC system. By following the steps outlined in this guide and using the right tools, you can easily take care of this task yourself. A little elbow grease now will go a long way toward creating a cleaner, healthier environment for you and your family. If you’re ever unsure about doing it yourself, don’t hesitate to call a professional duct cleaning service.

At Juan Air Conditioning, we’re always ready to assist with any HVAC-related needs, from air duct cleaning to system maintenance. Don’t let dust and debris accumulate—call us today for a professional evaluation and cleaning service!
